Thursday 13 September 2012

Door Latches

 Well i did promise an update ASAP regarding fitting the door latch. I had fitted one previously on the offside but i didn't get any pictures i was happy with. So here is a little write up of the nearside.

With the door card in position and held in place with the latch (very important as it spaces the latch off the door skin) i started by firstly checking that i could get a nice close on the striker. I did this by cutting some blocks of wood to hold the striker mounting plate up against the inner lip if the door slam. This can be a little tricky as you are trying to get a good close position so the door gap is even all the way round and the height of the door against the front and back scuttle. For me the nearside was simple but the offside will require a little more prep work before a paint finish.


Once i was happy with that the striker plate is bonded on using a good splodge of P38/P40 (P40 here) to bridge the gap and add some strength. The wooden wedges put back in to add the support, then close the door, adjust all the alignment and leave it to set. Do not be tempted to have a bash at opening/closing the door. You will just knock everything out of place.

Once cured off i then wanted to beef up fitting of it all. In my opinion the doors getting closed puts allot of stress into the striker and mounting plate, so if i did as the manual suggested and just used the P40 and wooden wedge then i just feel it wouldn't last long before working its way loose. Not forgetting it will have the road vibration as well as the door opening and closing so needs to be fairly solid.


So once the P40 had cured i could remove the wooden wedges and i simply drilled a hole through the door panel and the striker mounting plate (one below, two above) i countersunk the heads so they wont be visible once the door seal goes on, and also they will be painted when it goes into paint. I secured them with some nylock bolts and spreader washers so now with these tight even if the P40 does split, the striker wont move back or forth. Now to test the door latches nicely..... and it does!!! Happy Days!!


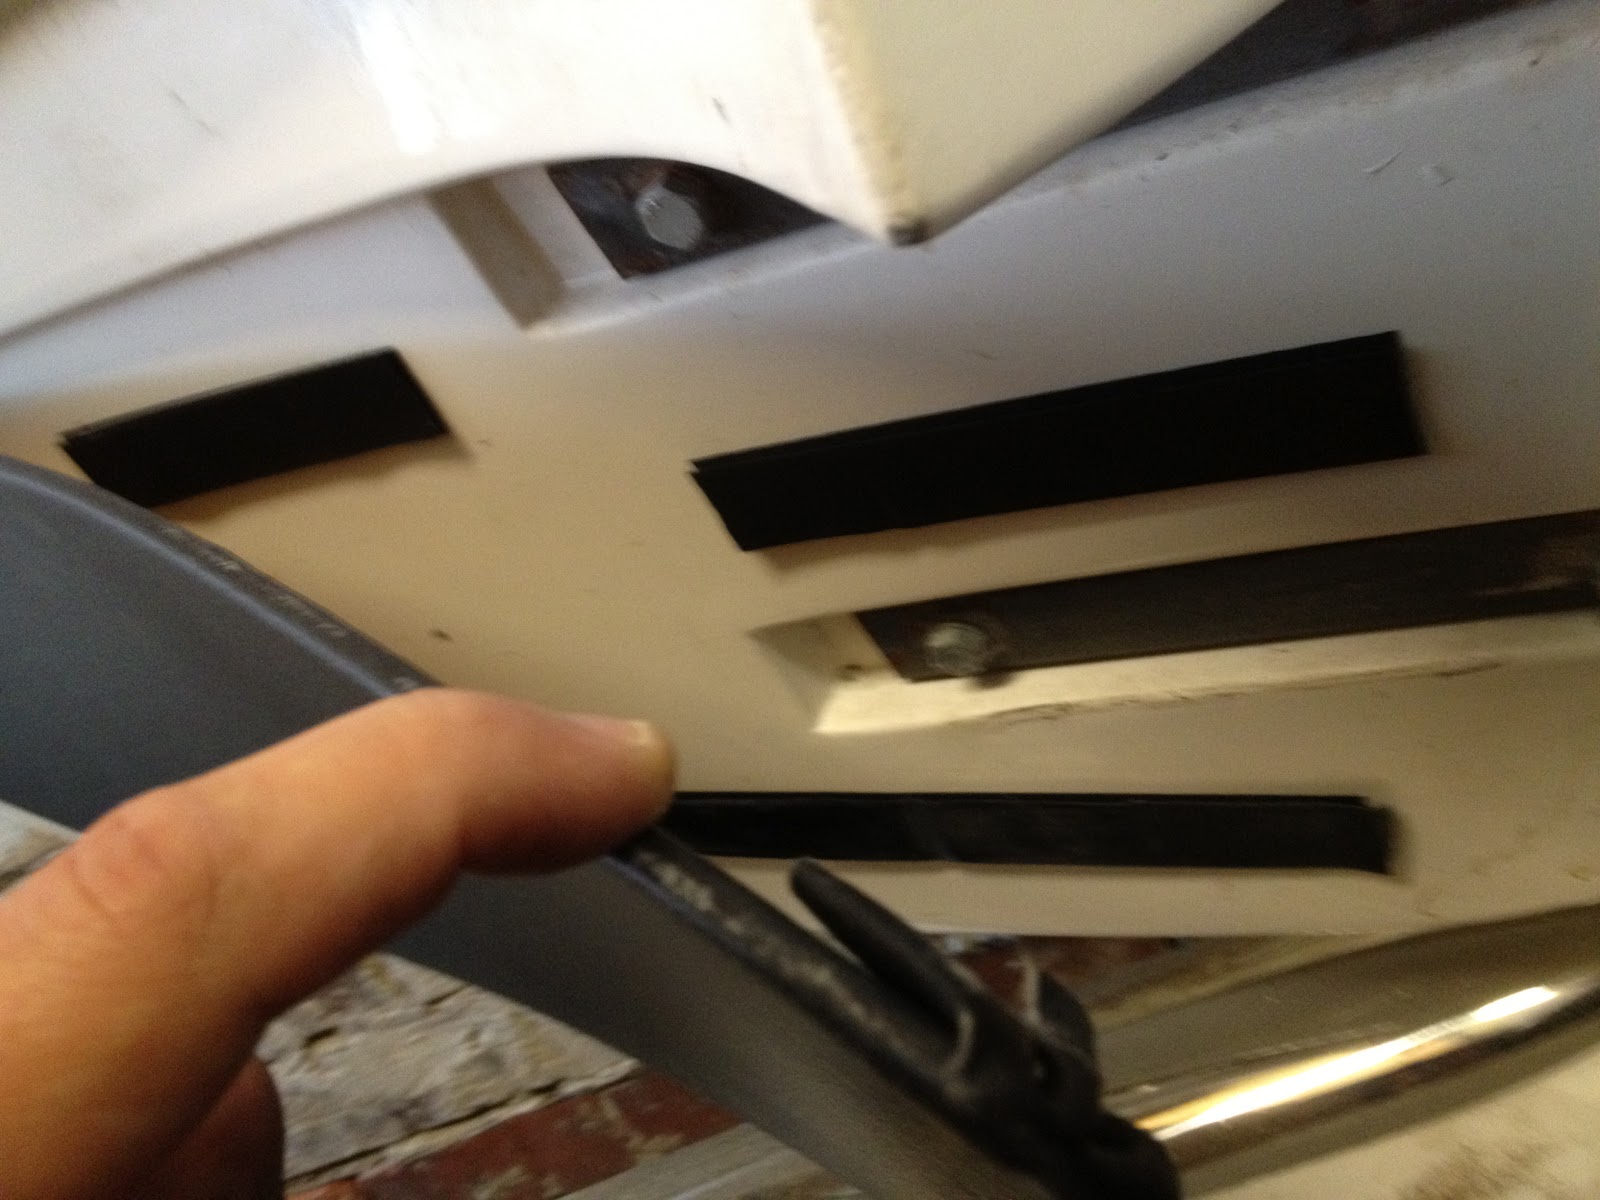
 Last little bit on this task is to secure the rest of the door card. Again because i don't want any fixings showing or ripples under the leather i just am holding it all in place with some self adhesive velcro. This is really sticky M3 bond, unlike some of the cheaper stuff from hobby shops, and it holds it all lovely.

So another task ticked off the list. one stage closer to completion.... but still a long road ahead of me!!!

I'm still saving for the money for the wipers, so that will hopefully be my next update!


Thursday 6 September 2012

Door cards and latches.


Time to start fitting the door locks/latches. In order to do this i need to make and fit the door cards as they act as a spacer between the door skin and the latch (about 5mm)

I have decided to do my own interior trimming as its something i enjoy doing, and can have superb results if done correctly. I will probably still go with the seat shells from AK simply because i like the fitting of the headrest (now mandatory for IVA) and trim them myself in a gorgeous deep red leather. 

So i started off making a template in card of the door card. This is just smaller than the door skin, as so the rubber door seal will mate up against the door as opposed to the leather of the door card. I'm not a massive fan of pockets in the door cards, i just find them useless in a car with no roof and is just a place to keep clutter... so no pocket = no clutter. In theory! As you can see its a very simple shape to trim with the only cutout for the striker and latch securing holes, so its just a very simple and enjoyable task of covering the hardboard in some nice cloth.

 I have gone with a nice black leatherette/plether and will compliment the black carpets (when i get them) and the dark carbon fibre dash. All the hardboard and cloth set me back a grand total of £10, so this is a very cheap part of the build, and necessary in order to progress with fitting then door latch.

The cloth is bonded to the board using impact adhesive, which is mega stuff to work with it smells superb and if used correctly sticks like sh*t to a blanket.
 The door card when fitted is held in place via the latch as that bolts through the door card into the door, nice and secure. Towards the front of the card and bottom edge, I'm simply holding it to the door using Velcro. this means no fixings to drill or uneven surface under the cloth and easily removed without damage.

I have decided against padding the cards with foam as i want a nice flat smooth surface, as the dash is also non padded so i want to keep the same style/theme throughout the interior.


So the door card finished in just a few hours work.
It looks very good and I'm very happy with the end result, very cheap to do also!

I have put a video below to show the door lock in action with the card fitted. I will do a separate post on how i have fitted the latch and how it works, but i simply wanted to fit one first (and be happy with it) before i start the other side with a photo write up. As you can see in the video i have not got the rubber door seal fitted and obviously no carpets, which will hide all the bits and pieces and the striker fixings.

Overall happy with the one side so far, a good solid clunk (sounds much better than a Golf) and the echo will go once the carpets are fitted.


Sunday 2 September 2012

A Visit from Mr Cockup!!!!

 Well before i introduce you to Mr Cockup, I'll quickly show you the addition fuse box. AK make no provisions in the loom for additional circuits, such as radio, alarm, power take off (Cig lighter socket) etc.. So pictured right is the secondary fuse box iv fitted myself. This is basically running form the battery feed on the starter motor. This gives me a number of feeds available to fit whatever accessory i feel i want. Although im not intending to fit a stereo at a later date i might just run a small amplifier with a concealed iPod connector so i can have some tunes when i park up... after all a stereo is pretty redundant with no roof and side pipes i would have thought??

 So my visit from Mr Cockup starts when i was pressuring up my brakes again. I jacked the car up and as it raised the back end i saw the rear wheel drop and have a huge amount of play in the hub.... ??? not good. So after a quick strip down of the rear hub (2-3 minute job now) i was confronted with the picture on the left. As the splined drive shaft enters the hub i have not had a flat surface for the oil seal to mate against. The shaft itself has a radius edge that has been chewing the oil seal to bits as I've been rolling the car in and out of the garage, and the first drive (about 10 meters in total) 

So as you see here (excuses the dust) the yoke of the drive shaft is threaded one end for the castle hub nut, and the other end has that radius edge which needs a contoured spacer shim on that then gives a flat surface for the hub bearing and oil seal to mate to as its torqued up.... with me not having this previously will explain the ridiculous amount of shims i had to put in between the drive shaft and the brake disk to give an acceptable camber. 
 I stripped the rear hubs of the car and gave them a good inspection because of me being a dickhead and not paying 100% attention during the strip down of the donor parts. But after some new oil seals and getting hold of a couple of the spacers... i was ready to start again with setting up the back end.... Pictured below you can see how, when fitted this gives a flat surface to the drive shaft against the hub/oil seal. If you compare the picture below with the picture above i must have been fricken stupid to have fucked this up!! I was always concerned with the excessive amount of shims between the diff and shaft and also why i couldn't get the diff output studs to penetrate the nut more than 3-4 rotations before getting tight. Now this is all sorted and i now only have 2 shims on the one side (as opposed to 8-9) and 1 on the other.


 Below on the left shows the new oil seal ready to be fitted against the damaged seal that was removed.... you can see how the seal has had a groove cut out where it has been rubbing against the edge of the drive shaft.

Below right shows how iv had to clean all the crud out of the hub, before it penetrated the bearing, this would have reduced the life of the bearing and could have potentially been a disaster waiting to happen!!!


So with the camber adjusted again, all was looking good. This picture shows the face of the hub measuring 89.8 (about 1/4 degree negative camber) which is what is required as stated in the AK build manual. This measurement is mirrored when the build wheel is on and a reading taken from each edge of the rim.

I will be checking this again when i get my wheels and tyres, just to be 100% sure its set correctly..... but im 100 times happier with this now, compared to how it was previously.

So job done..... next is onto door cards and door locks, along with dash recover to hide the nibs in the carbon fiber.